
Guide to Canning (Boiling Water Method)
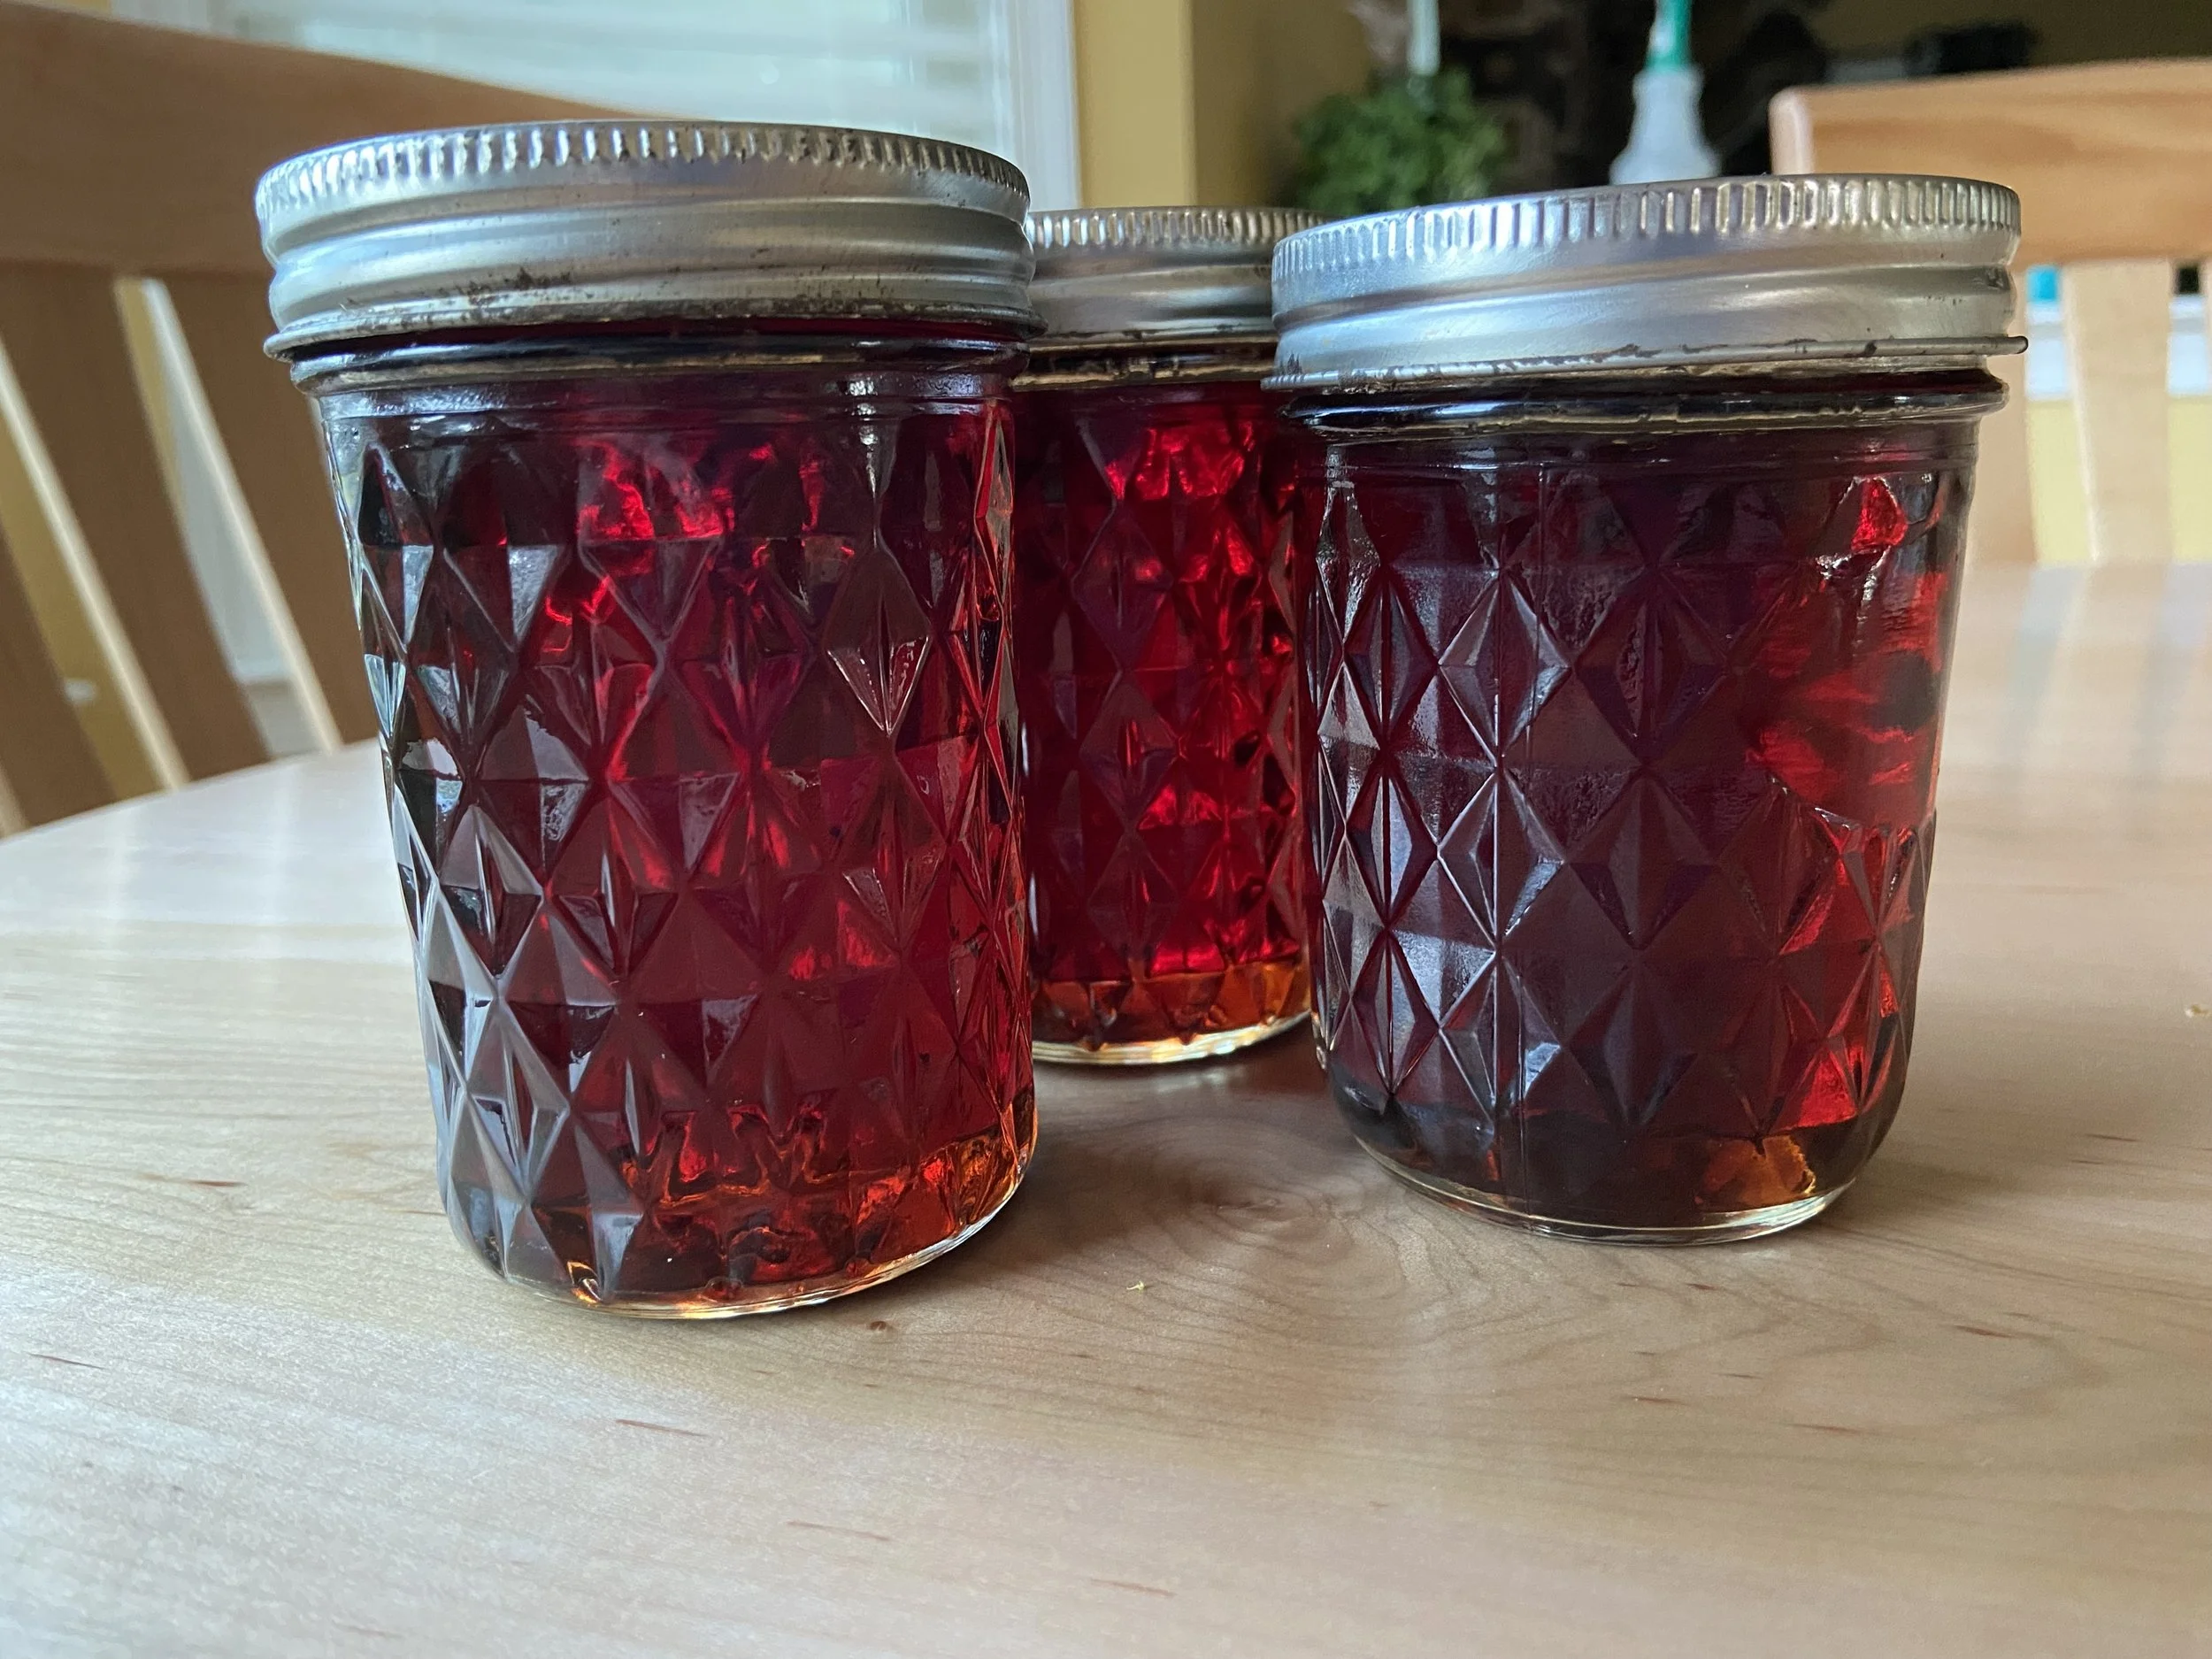
This is the most common method for canning high-acidic foods such as jams, jellies, fruit butters, preserves, marmalades, fruits, salsa, relish, condiments, pickles, and tomatoes. Any other type of foods, such as meats or vegetables, need to be processed using a pressure canner.
Equipment Needed:
- Boiling Water Canner
- Jars
- Lids and Bands
- Jar Lifter
- Canning Funnel
- Magnetic Lid Lifter
- Rubber Spatula or Bubble Remover
It’s highly recommended to purchase good quality canning equipment. It will be more durable and easier to work with.
Step One: Prepare Your Jars, Lids, and Bands
Wash your jars, lids, bands, jar lifter, canning funnel, and spatula thoroughly, using hot soapy water, then rinse. You can run them through the dishwasher or do it by hand.
After your jars have been washed, check the rims of the jars for any nicks or cracks. You should do this visually and by running your finger along the rim, to feel for any nicks that you may have missed visually. If you find any nicks or cracks, discard the jar. It will not seal properly and should not be used for canning. If you’re reusing bands, check them to make sure they aren’t misshapen or dented. Discard any that are. This will also prevent your jars from sealing properly.
To heat the jars, place the rack on the bottom of your canner and then place the jars on top of the rack. The amount and type of jars needed will depend on what you’re planning to can. Fill the canner and the jars up with water. A standard 16-quart canner can hold 7 quart sized jars or 9 to 10 pint sized jars.
- For 8-ounce jars or smaller, fill the jars and the canner with water until it reaches the top of the jars.
- For pint or quart sized jars, fill the jars and the canner with water until the jars are 2/3 full.
Once the canner and jars have been appropriately filled with water, move the canner to your stove top and bring the water to a simmer over medium heat. Allow the jars to boil at least ten minutes before filling.
Also place your lids in a small saucepan and simmer over medium heat for at least 10 minutes before using.
Step Two: Prepare Your Recipe
Generally, you can prepare your recipe while your jars and lids are simmering in the water. This will help keep your jars hot and prevent them from cracking when you put the hot filling inside of them. If your recipe takes longer than 30 minutes to prepare, start simmering your jars while your recipe is cooking.
A tip, you can still fill up your canner and jars with water and allow it to sit, unheated, on the burner until you are ready to heat the jars up. Just turn on the burner to medium heat when you’re ready.
Step Three: Filling Your Jars
Each jar should be filled one jar at a time. Only remove one jar from the canner, follow the process below, and then return it back to the canner. Repeat the process for as many jars are needed.
Filling Process:
1. Using a jar lifter, remove the jar from the canner, pouring the hot water back into the canner. Place the jar on a wooden cutting board.
2. Place your canning funnel inside the jar, then fill with the prepared food. Make sure to leave the appropriate amount of headspace needed for that recipe. Headspace is measured from the top of the jar to the food. Remove the canning funnel to check your headspace. Add or remove food to reach the appropriate headspace.
3. Using your rubber spatula or bubble remover, slide it around the inside edge of the jar and your food. Add or remove prepared food to reach the appropriate headspace, once bubbles have been removed.
4. Wipe the rim of the jar off with a clean, damp cloth or paper towel. Your lid will not seal properly if there are any food particles on the rim of the jar.
5. Using a magnetic lid lifter, lift a hot lid from the water and place it on the rim of the jar. Then screw a band around the top of the jar. Do not overtighten. Just tighten enough that the lid will hold.
6. Return the jar back to the water and repeat as much as is necessary.
If your recipe makes more jars than your canner will hold, you’ll need to wait to fill those jars until the first batch has finished processing. Starting back at Step One with simmering your jars for 10 minutes. Also making sure to keep your food hot until it’s ready to go into the hot jars.
Step Four: Processing Your Jars
Onca all your jars have been filled and returned to the canner, make sure that your jars are covered with at least one inch of water above the top of the jars. Add more water to the canner, if they aren’t properly covered. Then place the lid on the canner and bring the water to a full boil over high heat. Allow it to boil for the specified time in your recipe. It must be boiling the entire time.
Once your jars are done boiling, turn off your burner and remove the lid of the canner. Allow the jars to sit in the canner for 5 minutes before removing them. Once the five minutes have passed, remove the jars using a jar lifter. Being careful not to tilt the jars but to remove them straightly and upright. Set them down on a towel placed on your countertop. Allow them to sit there undisturbed for at least one day before checking the seals.
Step Four: Checking Your Seals
This is an important part of canning, don’t skip it. Without a proper seal, your food will not be preserved. You should start to hear the lids of your jars make a clicking sound within a few hours of processing. The click is the lid sealing, this is a good sign that your lids are sealed properly, but you still need to check all jars before placing them in storage. Just because one jar sealed properly, doesn’t mean they all did.
After at least one day, check your lids to see if they’ve sealed properly. To do this, first, remove the band from the jar. You don’t need it anymore. Once the band has been removed, use your finger to feel if the lid has a slight downward curve in the center. A sealed lid will. You can also press downward on the center of the lid; a sealed lid will not be able to be moved and will be firmly in place. Any jars that weren’t properly sealed, must be used immediately. You can place the bands back onto the jars, if you’d like. Although, it’s not necessary.
Step Five: Storing Your Canned Food
Before storing, wipe your jar clean using a damp cloth. Then label your jar with the contents and the date it was processed. You can do this by writing with a permanent marker on the lid. Avoid sticking a pretty label onto your jar with this information. The sticky residue makes it hard to clean off and reuse the jar. The lid cannot be reused, so it doesn’t matter if it’s written on. You can put the pretty label on your lid, if your so inclined.
The canned food should be stored in a cool, dark place. Like a kitchen cabinet, your pantry, or your basement. For best quality, canned food can be stored for one year. The food will last up to two years, but it will just loose some freshness after a year.
When you’re ready to use your canned food, check the rim and bottom of the lid, as well as the contents, for any mold or signs of spoilage after you open it for the first time. If you can see signs of spoilage or suspect that the food has gone bad, do not consume it. Throw it out. Always check the quality of the food before consuming. There’s always a chance that the seal was broken during storage. Canned acid foods can be disposed of like any other food product, by throwing it into the trash can.
